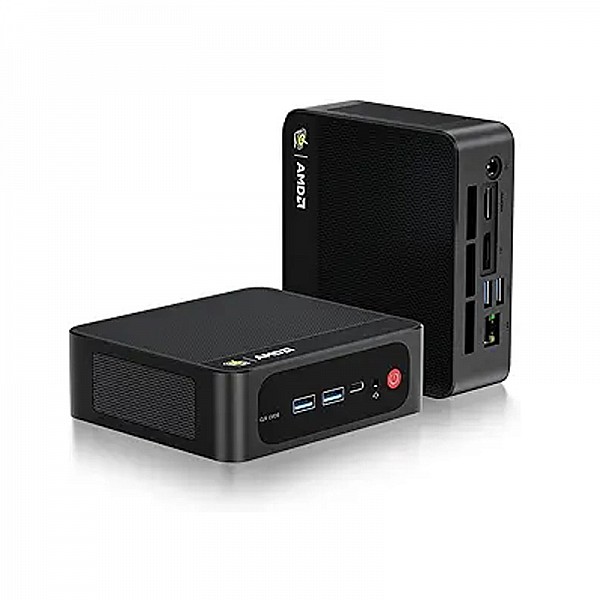
Having available an unused older but good Geforce GTX 1060 GPU and a power supply, I saw the opportunity to speed up my Beelink SER 5 5560U mini desktop computer at a reasonable cost.
I mounted the GPU externally on the ADT-LINK M.2 Key M NVMe. With an LG 27UN850 4K, 27 inch monitor, on start up, resolution was automatically set by W11 to 3840x2160. The results were immediately noticeable and excellent, with faster booting of W11 and loading and viewing beautiful 4K highly defined and nicely colored images and videos, and no pixilation.
For my Beelink plus external GPU setup, the GPU benchmark test score is 34.689, comparable to latest high end GPUs (although this number does not guarantee the GTX 1060 will run more demanding modern games at full settings.) UserBenchmark test reports: “With a brilliant single core score, this CPU (AMD Ryzen 5560U) is the business: It demolishes everyday tasks such as web browsing, office apps and audio/video playback. Additionally this processor can handle moderate workstation, and even light server workloads. Finally, with a gaming score of 85.4%, this CPU's suitability for 3D gaming is very good.” Regarding graphics, “53.3% is a reasonable 3D score (RTX 2060S = 100%). This GPU can handle the majority of recent games but it will struggle with resolutions greater than 1080p at ultra detail levels. (Note: general computing tasks don't require 3D graphics).”
I’m not over clocking, so CPU and GPU temperatures are in the 50s to 60s C. The system is absolutely quiet, no fan noise.
The project required preparation, aided by YouTube videos (ADT’s instructions are basic.) The ADT’s Link m.2 cable plugs into the Beelink m.2 NVME slot. To free it up I purchased a 250 GB SSD for W11 system and applications, and a one TB SSD for Dropbox documents, files, family photos and videos. The new 250 GB plugs to SATA ribbon inside the mini, and the one TB data SSD is plugs to an external USB 3.2 port via a SATA to USB cable. For the leftover original 500 GB m.2 storage card, I purchased a SATA to USB enclosure adapter.
To free up the m.2 slot before plugging in the 250 GB system SSD, I moved my Dropbox folder to the one TB SSD (using Dropbox’s move instruction.) I then connected the 250 GB SSD to a USB port and cloned W11 and system from the m.2 storage to it. For the cloning, I used the trial home version of Macrium Reflect. These operations required a couple of hours.
The GPU on the ADT dock, and power supply connections were straightforward and easy, thanks to keyed plugs. And YouTube videos.
Everything worked on power up! W11 recognized the external GPU, installed the driver and adjusted the monitor resolution to the maximum. No configurations were required.
Was it worth spending $182 on the ADT dock, two SSDs, one enclosure and a cable? Given that I already had the excellent value and current Beelink 5560U, plus a dated but good GPU and a power supply, for the maxed out 4K resolution, speed and quality I’m seeing, absolutely, yes! Would I buy it all separately and assemble? No.
However, with this ADT external GPU dock and the Beelink 5560U CPU, I can keep my gear current by upgrading to more RAM memory and later to a newer more powerful GPU, especially if I return to MS Flight Sim, and maybe VR. If you’re a gamer, however, to save money in the long run, buy the right gear the first time around.
|

